
Modern business models brought us all sorts of testing procedures from test centers and clinics directly into our homes. Today, you can check your sexual health, explore your ancestry, do a relationship DNA test, get a full list of your allergies, and much more without having to leave your home.
STD testing providers followed suit and started offering reliable at-home testing solutions with the same level of accuracy their lab counterparts provide. In this article, we’ll explain the entire testing procedure, from the moment you place your order to the final inspection of your results.
At Home STD Testing Procedure
Different companies can implement different solutions, but the DTC (direct-to-consumer) model stays the same across the field. The said business approach consists of the following steps:
1. Placing Your Order
Once you’ve chosen your STD testing company, you will start the procedure by placing an online order on the official website. You will probably be prompted to create your personal account and provide some necessary data (username, password, payment option, etc.). This account will allow you to register your testing kit and even inspect the results in some cases.
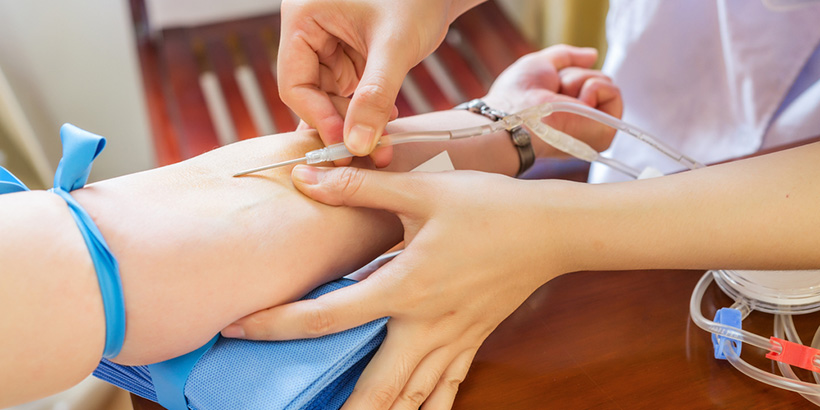
2. Collecting Your Sample

After placing your order, you will promptly receive your personal STD testing kit designed to extract and store different biological specimens, depending on the test in question. You will usually provide a blood or urine sample or both if you ordered a testing panel that covers numerous infections. You should make sure to follow the provided instructions to the letter, which will minimize the possibility of sample contamination and test failure. STD tests don’t require any special preparations before sample collection, so you won’t need to fast or abstain from any usual activity. If you’re providing a urine sample, though, it is highly recommended that you do not urinate for at least one hour before collection.
3. Sending Your Sample To The Lab
After you’ve collected the required sample, you can send it back to your provider’s lab for processing. The company will usually include a prepaid mailer into your personalized test kit, so you won’t have to think about additional shipping costs. Note that some companies calculate their average turnaround times from the moment you’ve sent your sample to their lab while other start counting from the moment they’ve received it.
4. Inspecting the results
After the lab technicians process your specimen, they will generate your final report. The company will usually send you some sort of notification to alert you that your results are ready. In most cases, you can also make previous arrangements with your provider and instruct them to send your results by mail/fax or do nothing at all until you call them or come to pick up your report in person.